First off was making high poly branches. Here I learnt how to use the branch tool in the graphite modelling tools. I was really impressed with this and really got into creating the branches and twigs.
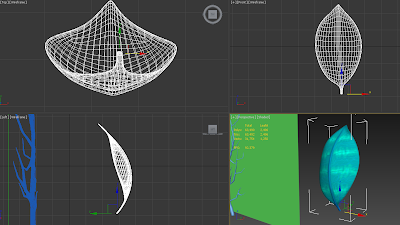
Then created a high poly leaf. I looked at some of the stripy patterns of some of the plants I saw when I went to the botanical gardens. So I painted the diffuse based on those, of course keeping my colour scheme.
I also learned how to utilise the object paint tool to arrange the versions of my leaves all along the branch. Again this would have took an extremely long time without such a simple yet powerful modifier. And creating it all this way makes for more natural looking textures when they are baked from actual 3D objects.
Eventually ended up with two different looking branches, and then all their materials were baked out the same way as the grass previously.
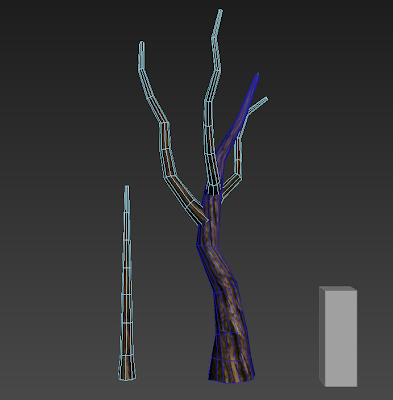
Created the same kind of planes for the branches and then got straight into modelling the tree. I had modelled trees before using the spline and NGon extruding technique, and I found this really helpful. But I also learned a few new ways of creating a tree. Using the path deform modifier I was able to edit the tree very quickly using the splines. The same goes for when adding the branches. This also taught me the value of instances!
And finally the finished tree! I had to manually edit the normals to get a better shading.


No comments:
Post a Comment